
You've seen it done on scrapbook pages. Maybe you've even read tutorials on how to do it in other programs, but how do you do it in Paint Shop Pro. Follow the instructions below and you are on your way to being a stitching pro. This tutorial was written for Paint Shop Pro X and assumes you have a basic understanding of Paint Shop Pro. Let's get started
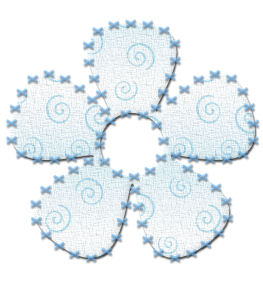
We will be making this basic flower with stitching around it.
You will need the following set of brushes to do this tutorial. You can download them here. (Remember where you saved them to so you can find them when you need to use them later.) I have included extra brushes not included in this tutorial. You can follow the same steps with any of the brushes and have different stitching effects.
You will also need to download the Vector Paint script from Pixelnook. Click here to go to their page.
Step 1. Import your brushes. If you don't know how to import your brushes it is really simple. I have included a few screen shots to make it even easier. Go to File > Import > Custom Brush.

Open the file where you saved your brushes. Make sure you unzipped them first. Click on Open then select the brush you want. Then click Add. Do this with all the brushes you would like to use.

Now that you have your brushes loaded it is time to make your flower. This script only works with preset shapes and vector objects drawn with the pen tool.
Let's go to the preset shapes. Select the flower from the preset shape tools.


Click here to go on to step 2